Tips for Creating Event Graphics

You’ve got an event coming up and want to spread the word, build some buzz, and ensure people show up. Event graphics are key. Eye-catching images, flyers, and signage – it’s all part of the marketing mix these days.
But creating great graphics doesn’t come naturally to everyone. Don’t worry. We’ve got you covered. We pulled together some of our best tips for designing event graphics that will have people lining up at the door.
Whether you’re a pro at Canva or still figuring out how layers work in Photoshop, these tips will help you create flyers, signage, and more for your next event. Read on to make your event graphics shine.
Choosing Graphic Design Tools
For creating graphics to promote your event, the tool you choose depends on your needs and skills. Our team at Greenville Print Solutions will be happy to help you bring your vision to life. Share your ideas with us, and we’ll help you create captivating print images.
For anyone
Canva is intuitive and great for beginners. Many free templates and images are available.
For those wanting to improve their skills
Figma is a fantastic (and free!) design tool for students and educators. Collaborate with others on graphics. Figma has a bit of a learning curve but is a secret weapon for great design work. The Pro version is free for students and teachers.
For pro designers
If you’re a pro designer, you can use whatever professional tools you prefer, e.g., Figma or Adobe InDesign.
Experiment With Color
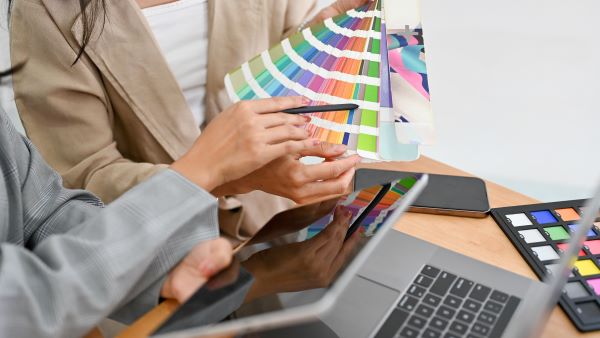
Choosing a color palette is one of the most important aspects of event design. Your chosen colors decode your brand image and convey your core values to attendees. Colors also evoke emotions and can become the deciding factor for people attending your event.
Consistency strengthens your brand identity and helps attendees navigate the event. But don’t be afraid to experiment. Try unique color combos to make a bold statement. Contrasting colors side by side creates visual impact.
The colors you choose set the mood and energy for your event. So, take your time exploring options to find the perfect palette. With the right blend of colors, your event will be memorable and meaningful.
Typography
Choosing the right fonts for your event graphics can be challenging, with many options. Your font selections should capture viewers’ attention while conveying the right message. When it comes to fonts, understand typography basics.
Some things to consider:
- Serif vs. sans serif: Serif fonts have extra strokes at the ends of letters, while sans serif fonts have plain ends. Sans serif fonts look more modern, while serif fonts appear more traditional. Mix and match for visual interest.
- Font pairing: Don’t use more than 2-3 fonts in one design. Pairing fonts that have distinct looks but share some similarities, like thickness or letter shape, creates cohesion. For example, pair a bold sans serif header font with a lighter serif body font.
- Size and hierarchy: Vary font sizes to indicate the importance and create a hierarchy. Larger sizes attract the most attention, so use them sparingly for key messages. Medium and small sizes work well for secondary headings and body text.
- Mood and theme: Fonts have personalities and can evoke certain moods. Fun, casual scripts suggest playfulness, while sleek sans serifs imply modernity. Choose fonts that match your event’s theme and tone.
Use Captivating Images
Eye-catching images in your event graphics will help bring your vision to life for attendees. Photos help viewers visualize what the event experience will be like. There are a few types of photos to consider:
- Relatable photos show attendees engaging with each other or event elements. This helps potential attendees picture themselves at your event, building excitement.
- Background photos set the overall tone and atmosphere. Choose images that match your event theme and style. For a casual event, use photos of the event venue. For a formal event, use photos of the decor that will be used.
- Inline photos are sprinkled throughout the text content. They make information more engaging and scannable. Use inline photos of speakers, activities, venue spaces, or event highlights.
- Illustrations and icons also help visually represent your event. Icons represent event elements like workshops, meals, entertainment, and accommodations. Minimalist illustrations give an artistic flair.
Craft a Compelling Narrative
To craft a compelling narrative for your event graphics, focus on storytelling. Draw your audience in by unfolding events with suspense and intrigue.
Don’t give away all the details upfront. Share just enough to spark interest and keep people wanting more. For example, promote an exciting keynote speaker or panel without revealing the topic or participants. Build up the mystery to increase anticipation.
Explain how attendees will come away with solutions and new insights. Finally, share all the details, announce the surprise, or reveal the keynote topic to provide resolution. Using storytelling techniques like building suspense, creating cliffhangers, establishing conflict, and sharing the resolution will transform your event graphics into a journey that attendees can’t help but follow until the end.
Maintain Consistency
To keep your audience engaged with your event, consistency is key. Use the same color palette, font, and style across all your graphics. Event graphics, brochures, and signage, and banners should have a cohesive aesthetic.
Stay on message with what you’re promoting. If your key message is a conference on emerging tech trends, don’t suddenly switch to promoting networking opportunities. While important, keep your main focus on the heart of your event.
Highlight key event details, such as the dates, location, and reasons to attend. The more people see it, the more likely they are to engage and attend.
Hire Print Services in Advance
When printing your event graphics, please don’t leave it until the last minute. Booking printers in advance will save you money and prevent unwanted stress. You’ll also have plenty of time to review print quality before your event.
Search online for highly-rated printers in your area specializing in large format or event graphics. Check reviews from past clients to determine quality and service. Get quotes from a few places to compare pricing. Some may offer package deals if you need banners, signs, flyers, etc.
For the best rates and to ensure availability, book your printer at least 2 to 4 weeks ahead of your event date. Last-minute jobs often come with rush fees and limited options. Booking in advance also gives you time for revisions if you want changes made to your files or need to swap out images.
A Labor of Love
By focusing on a consistent and eye-catching style, choosing an easy-to-read font, using negative space effectively, and adding subtle visual interest with colors and textures, you’ll be well on your way to designing an event graphic that will make a great first impression.
Our team at Greenville Prints Solutions can help you create stunning promotional event graphics, banners, and more.
Share this article!

